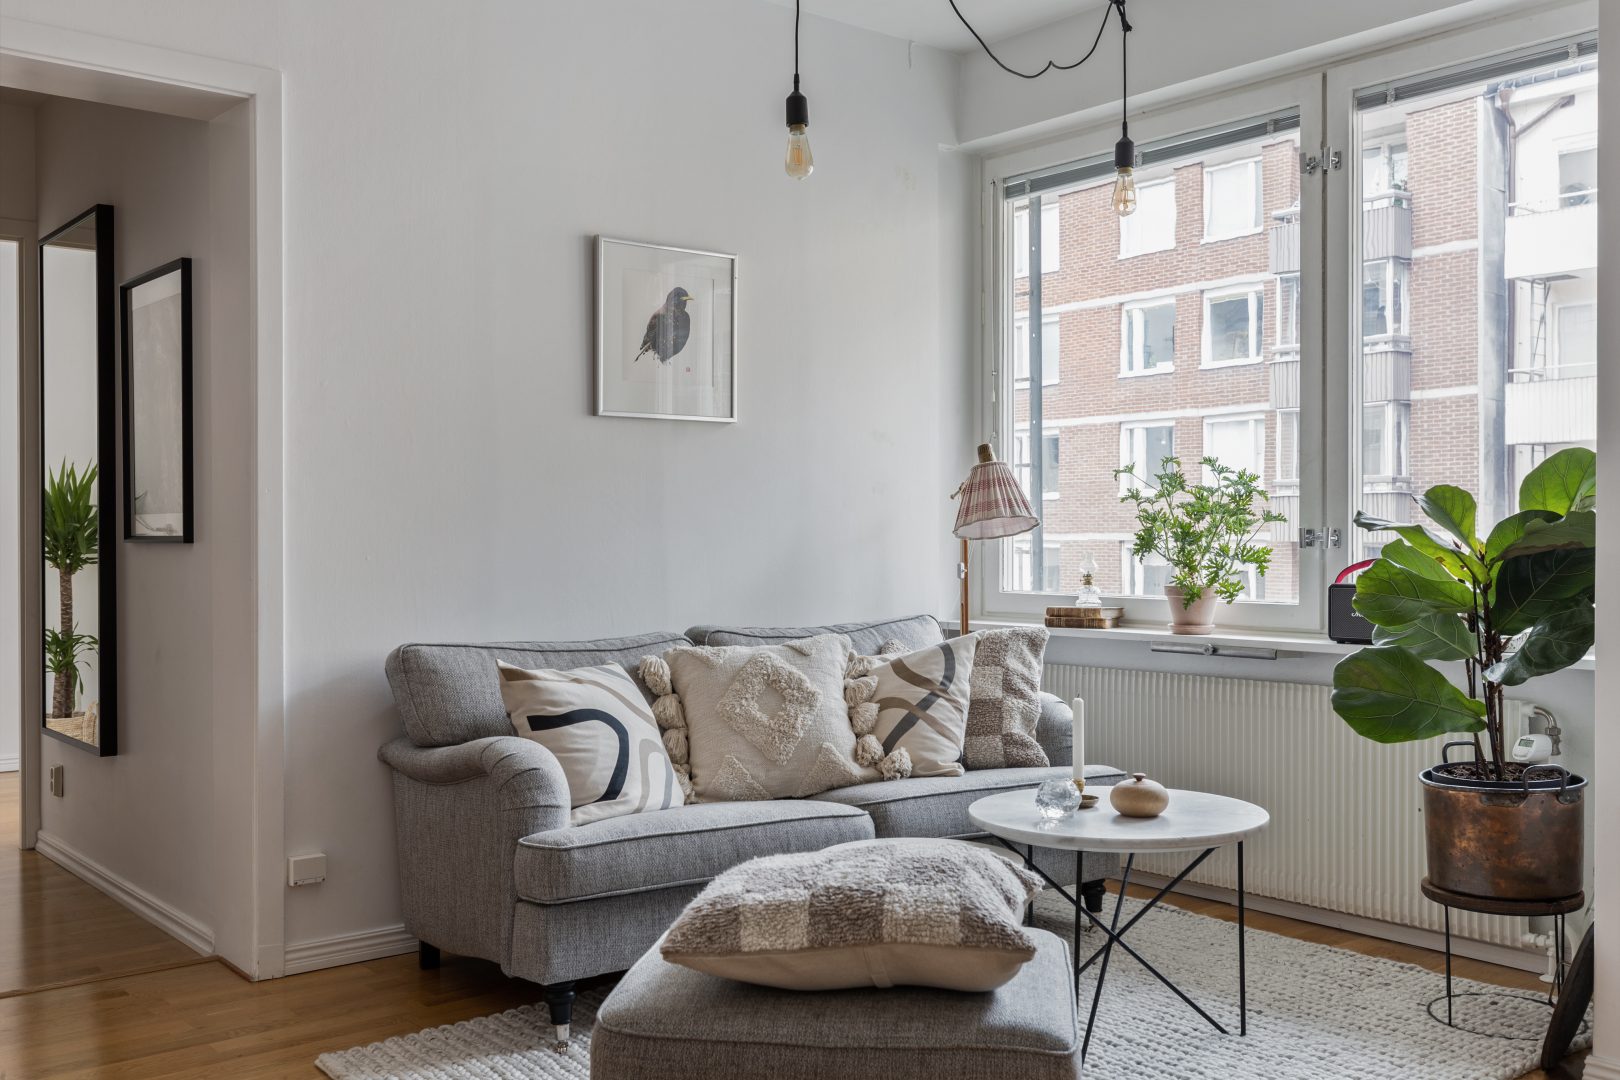
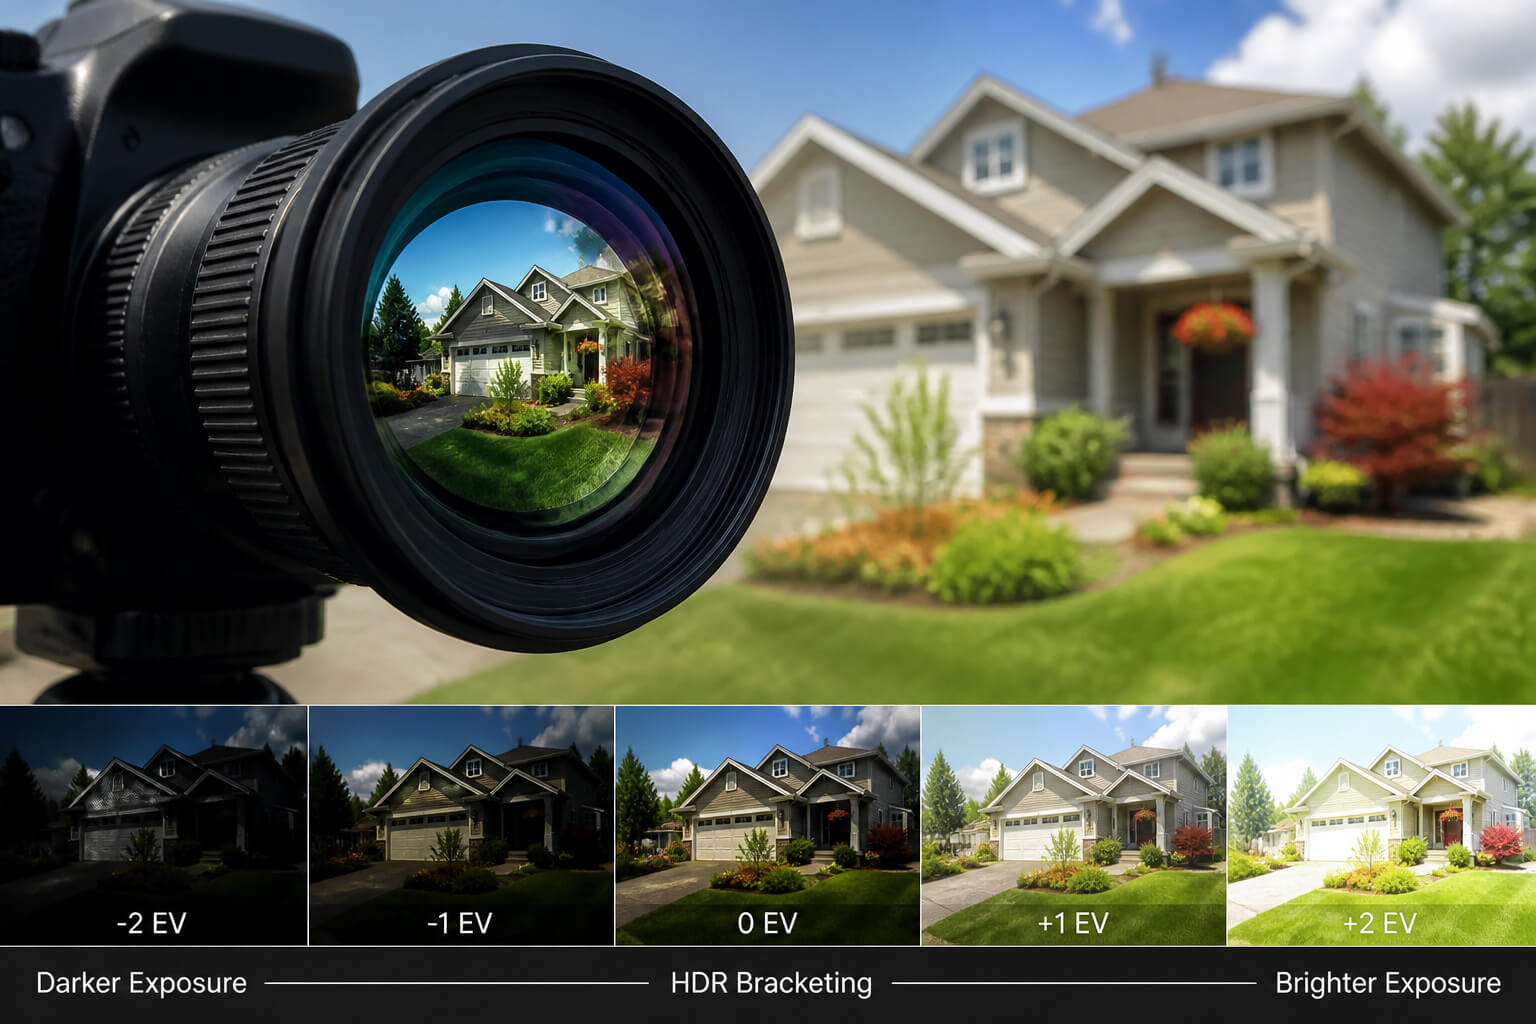
Bracketing real estate photography is the very first step in creating HDR images. Although this strategy appears to be a highly productive and cost-effective photography technique, it is not well appreciated by photographers. This is because HDR images are frequently perceived as being oversaturated and unnatural. In this blog, we will discuss why you should utilize the bracketing photography shooting technique and when you should use it to create the most stunning HDR real estate photos.
Before jumping into discussing the downsides and benefits of the ambient exposure bracketing shooting approach, let’s see in what scenario you should use it.
1. When to use bracketing real estate photography?
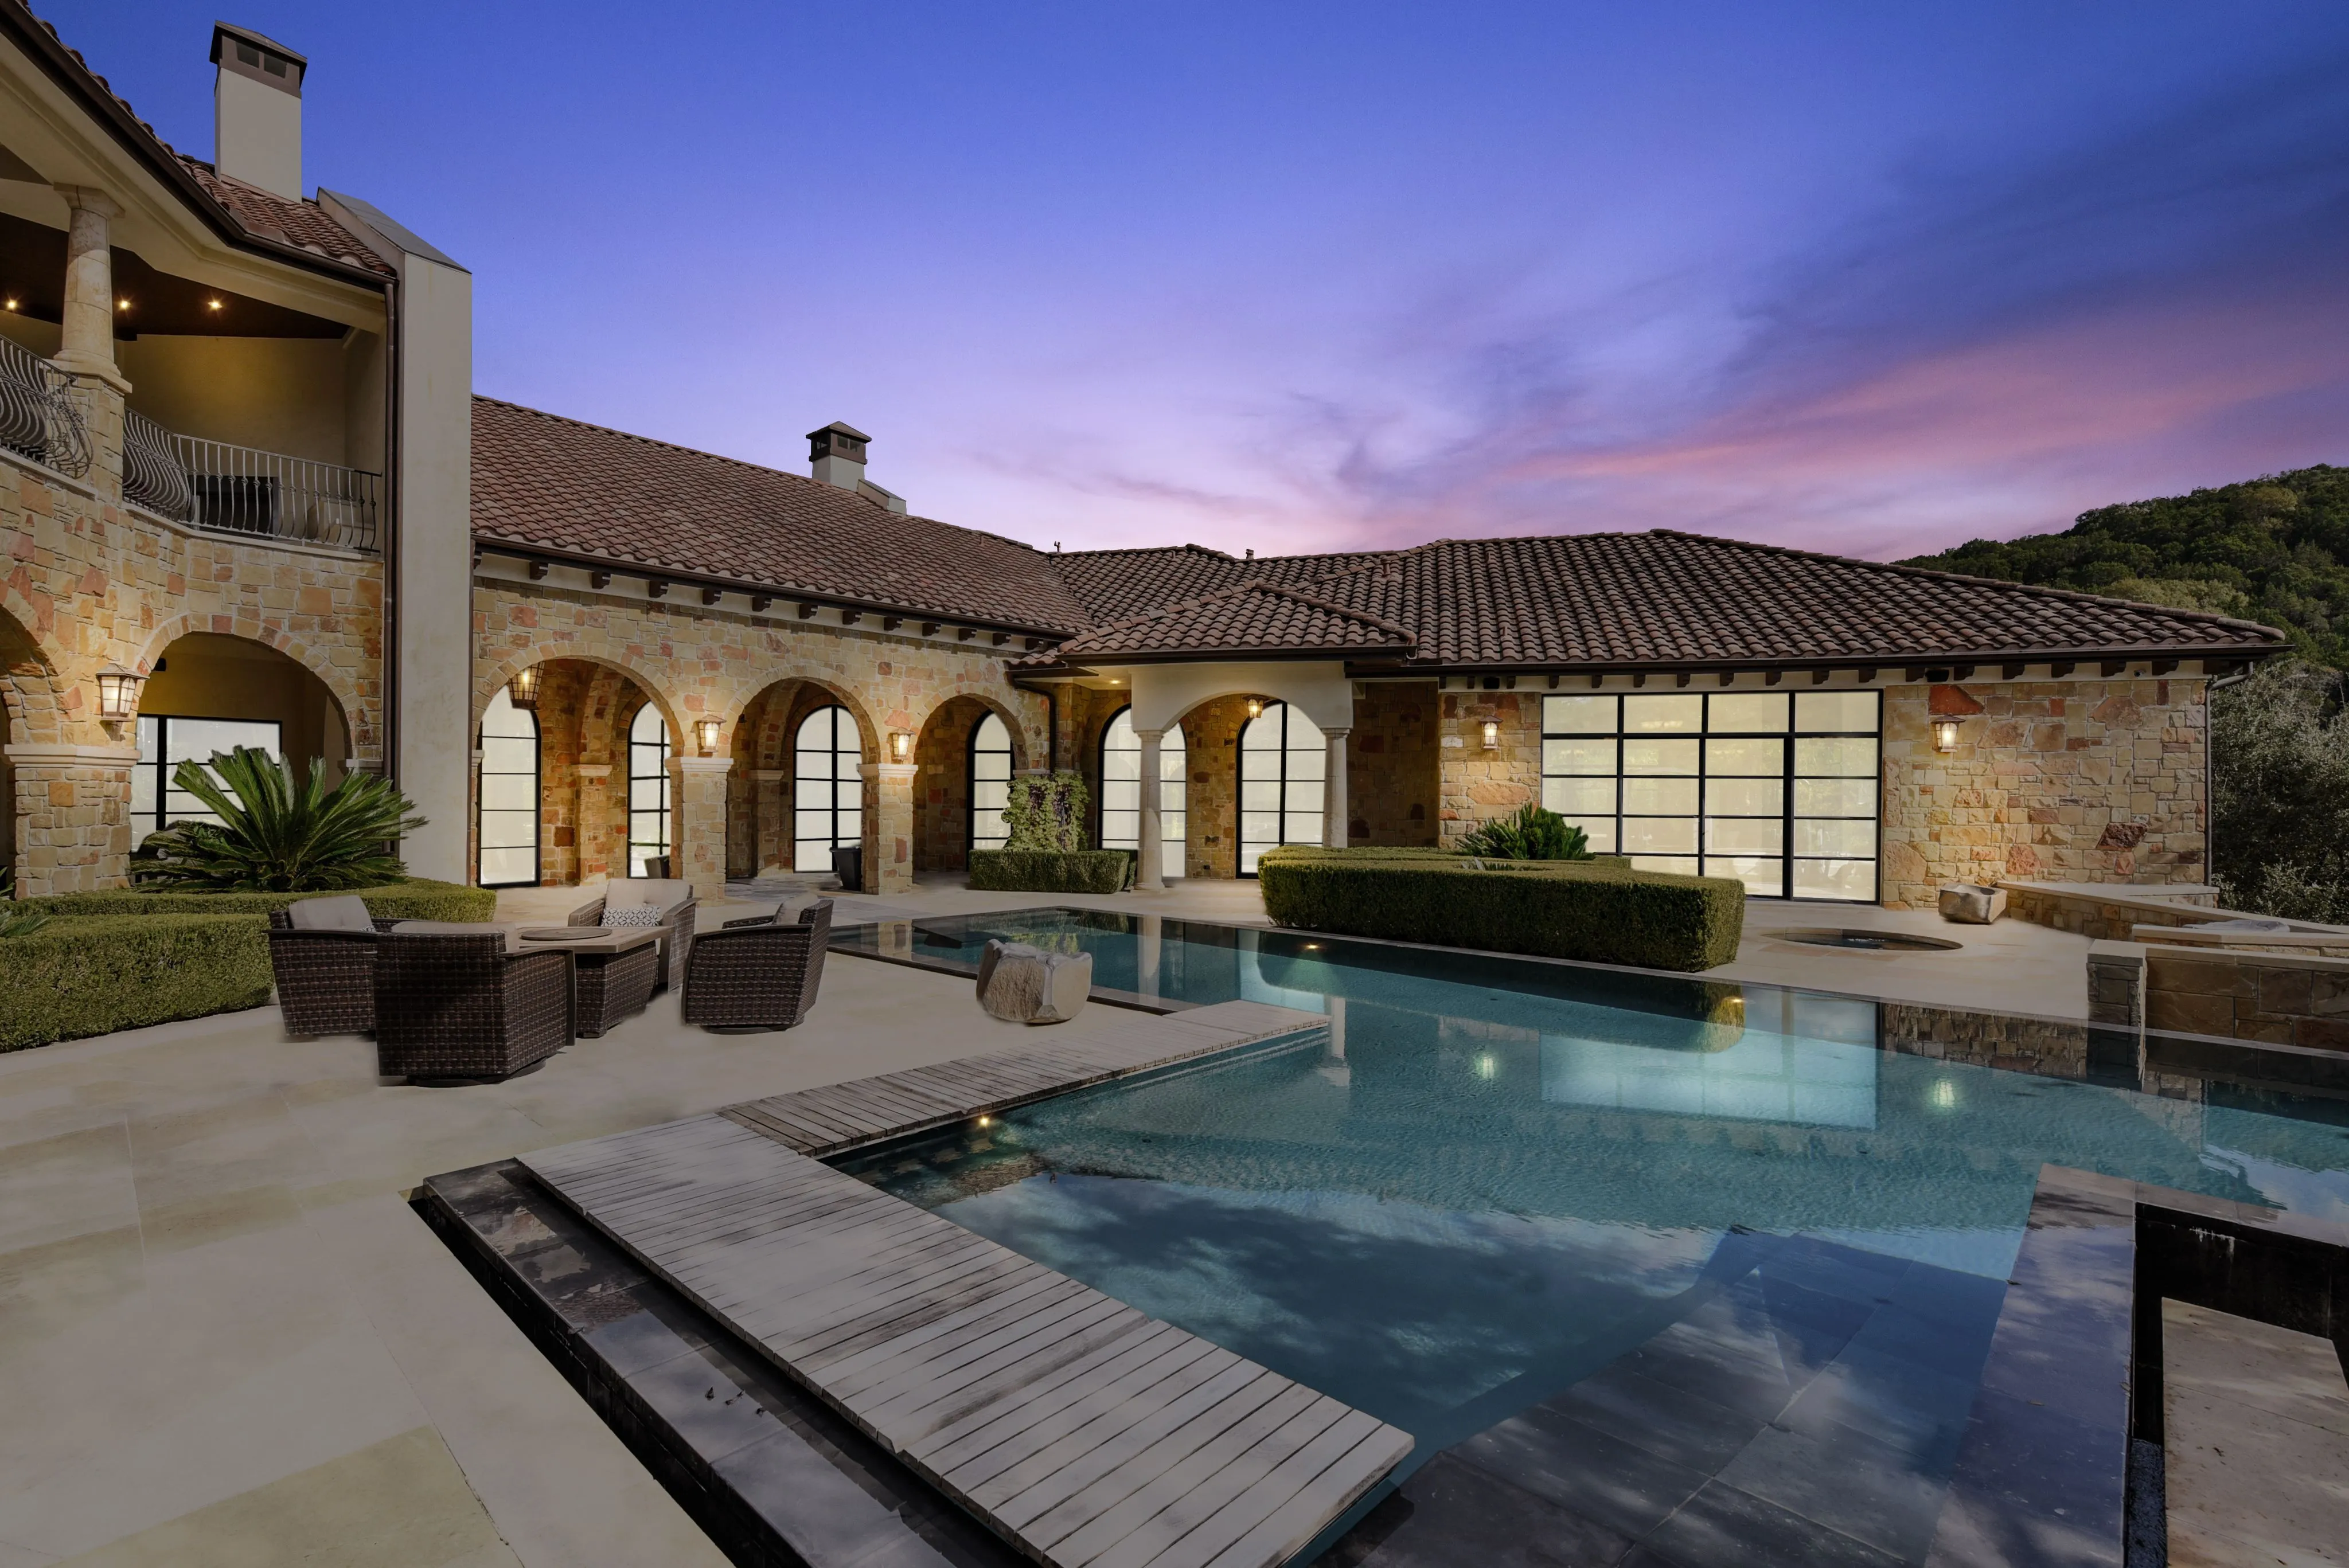
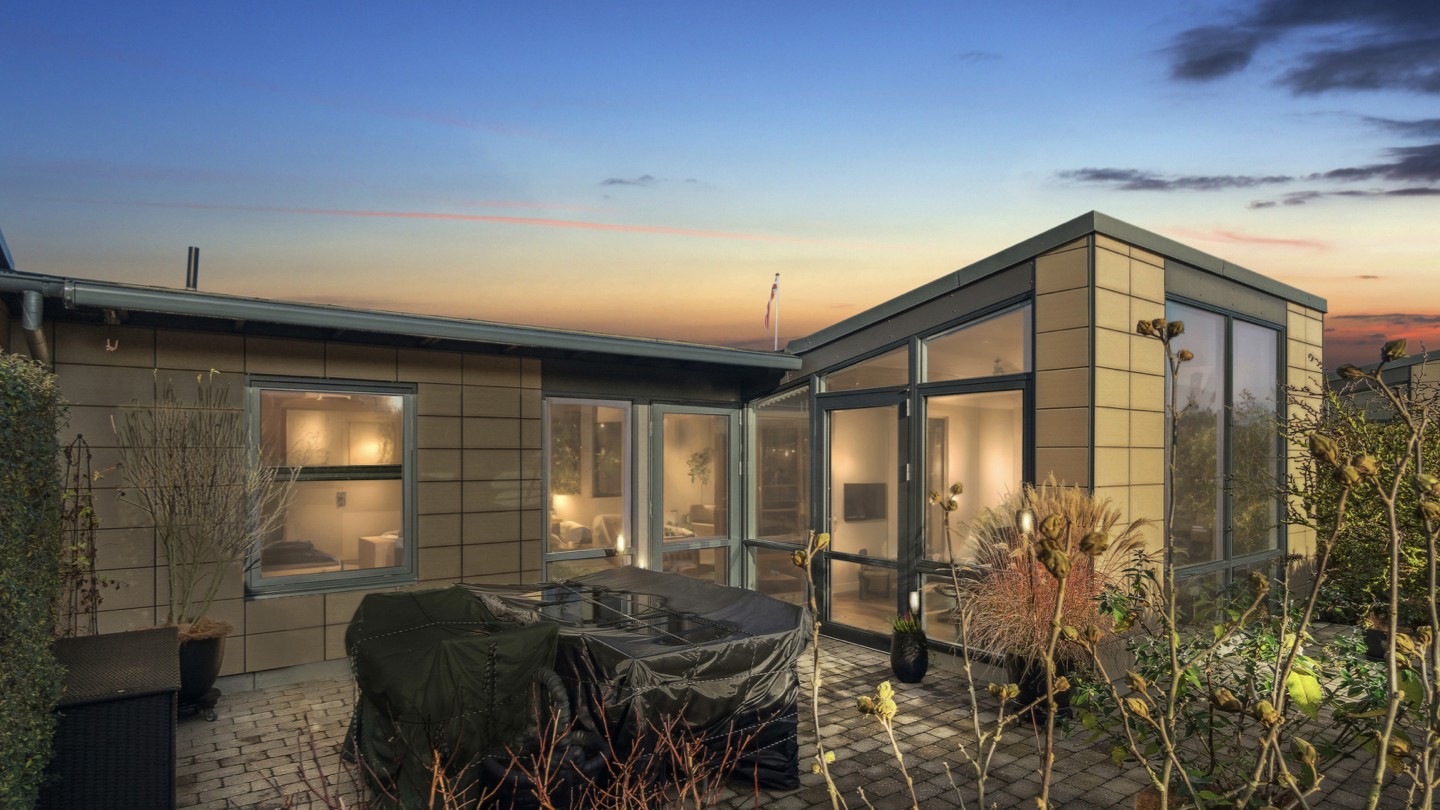
Bracketing real estate photography shines in situations where the contrast in a scene exceeds your camera’s dynamic range — in other words, when your camera struggles to capture both the brightest highlights and darkest shadows in a single exposure. For example, you want to keep the color and detail of a house's exterior intact under the lights, but you also want to keep other areas, such as the walks and the patio, a bit darker.
Even a small space can be flooded with natural light thanks to windows, doors, and other apertures. Suppose you want the lighting and tones across the composition to be consistent. In that case, HDR photos can help you achieve this by reducing highlights, increasing shadows, balancing the brightness of lights, and maintaining shadow casts.
Once you’ve decided that bracketing is the right approach, the next question is: how should you capture those multiple exposures? Photographers typically choose between 3 methods: automatic, semi-automated, or full manual. This really depends on how much control you want versus how fast you need to work.
Automatic exposure bracketing (AEB)
The camera does most of the work here. With AEB switched on, your DSLR camera automatically takes a series of shots — usually three — at different exposure levels. You’ll end up with one normal shot, one darker, and one brighter, all with the same composition.
Semi-automated bracketing
This method gives you more say in the process. You lock in two settings (for example, ISO and aperture, or ISO and shutter speed), while the camera adjusts the third. It’s a middle ground between convenience and control.
Full manual bracketing
For those who want total control, manual bracketing is the way to go. You decide the ISO, aperture, and shutter speed yourself. A common approach is to keep ISO and aperture consistent, then manually change shutter speed one stop (1 EV) at a time. Starting fast, then slowing down for each exposure until you’ve covered the full range.
2. When not to use bracketing real estate photography?
While versatile, bracketing isn’t applicable in all shooting situations. There are times when it’s better to avoid it:
Low-contrast shooting:
Low-contrast scenes won't work well for bracketing real estate photography since they lack varying light exposures.Silhouettes:
Avoid utilizing bracketing real estate photography when you need silhouettes since you’ll actually end up with an HDR image that has subjects that are either incredibly dark or pure black and no detail in either case. If you need to create a silhouette, consider using a standard exposure as this will give you the most realistic and detailed results.When you want to remove all shadows:
Your compositions can benefit from using shadows to add depth, dimensions, and shapes. By doing this, you can enhance images with mystery or drama. Your HDR photographs must preserve shadows because you’ll be employing a variety of light sources to capture your subject.Shooting scenes that include people or animals:
When shooting properties containing people or animals, it’s not a good idea to use bracketing real estate photography. Because it requires numerous still exposures, moving objects often appear blurred or ghosted.
Now that we have covered the ideal times to use and not to use the ambient exposure bracketing shooting approach, let’s look into what are the pros and cons.
3. Cons of bracketing real estate photography - Why you shouldn't use this approach
Requiring more time than single exposure
Compared to shooting single exposure, shooting multiple exposures is more time-consuming as it requires more setup and preparation. As long as you’re carefully prepared, movement between exposures is unavoidable, especially with beginner real estate photographers.
If the brackets are not taken correctly and properly aligned prior to merging, it might take a lot of time to correct the misalignment. Also, if the photographer isn’t familiar with the techniques for photo retouching, it’ll take a lot of time, patience, or even redo, especially during the first few tries to create an HDR image.
Requiring particular tools
Whether it’s HDR interior photography or exterior, the most basic equipment needed to shoot multiple exposures effectively is a camera, a tripod, and a remote shutter release.
For bracketing real estate photography, a DSLR or mirrorless camera with the ability to shoot in RAW format is ideal, as it’ll allow you to capture more detail in the shadows and highlights.
A tripod is also necessary to avoid movement between exposures. This will ensure that the images are perfectly aligned and that no details are blurred out. A remote shutter release is recommended, because it allows you to take multiple exposures without touching the camera or triggering any vibration.
Having the tendency to look fake
Presets are like magic to real estate photo editing. It can turn a boring image into a lively one in just a click. But this is not true for HDR. Most of the HDR presets will let you fall into the rabbit hole of heavy editing, this, unfortunately, results in unrealistic details, colors, and vibrancy in your real estate images.
Some of the common mistakes that many photographers meet when self-editing their HDR photos with preloaded presets are underexposure, lack of contrast, oversaturation, halo effect, etc. Being creative is essential for producing aesthetically appealing and natural-looking real estate HDR images. So, design your own templates that balance clarity with natural tones. This not only keeps images realistic but also helps you develop a distinct style.
While we admit the cons, there are way too many pros that this approach offers as one of the most common, widely adopted shooting techniques in real estate.
4. The Benefits of Bracketing Real Estate Photography
Saving highlights, balancing shadows, and enhancing details
It can be challenging to balance the highlights when shooting interior photos of spaces with exterior views. For example, photographing a bedroom with a window view may have multiple light sources. With HDR real estate images, you can preserve the contours from window light while retaining the room’s vibrant colors. Shooting with multiple exposures helps preserve important elements and details such as fixtures and furniture. Thus, you can enhance textures for sharpness and greater clarity.
Overcoming tricky lighting conditions:
There are times when combining natural light and external lights can create complex lighting. Better than spending too long adjusting your lighting and camera position, HDR real estate photos can counteract high-contrast lighting in one image. HDR real estate image helps take advantage of natural light without having to use artificial lighting.
Taking advantage of the ambient light:
FBracketing real estate photography leverages available natural light, reducing your dependence on expensive flash setups. This not only saves you money but also time for new photographers who aren’t trained in advanced lighting as it’s a really hard skill to learn.
Being easy to learn and train:
Unlike more advanced techniques, bracketing is relatively straightforward to master. Many photographers can learn online without one-on-one mentoring. For real estate companies, this makes it easy to train a team quickly and shoot more properties without sacrificing quality.

5. Final Verdict: Is Bracketing Worth It for Property Photography?
The short answer: yes. While bracketing real estate photography requires a bit more time and gear, its ability to deliver balanced, detailed, and natural-looking images makes it valuable for photographers working in varied lighting conditions. For real estate photography businesses, the simplicity of bracketing means you can train a large pool of photographers. Plus, learning the techniques and getting started doesn’t require a lot of resources or talent.
At Esoft, we specialize in editing bracketing images into polished HDR photos that suit your preferred style, from natural to high-end editorial. Whether you want consistency across hundreds of listings or flexibility to meet client requests, our editing team ensures your images look stunning without sacrificing realism. Work with us to have your HDR photos processed to your specifications and make it easier for your business to further develop.
| Contact us today to discuss with our photo experts about your needs!



Linh Phan
Content Strategy Executive
No Spam, Just Updates
Our fresh blogs provide technical and industrial information that helps strengthen your business. Sign up to be the first to receive the new updates