
In today’s hyper-digital market, property search begins online, and a video walkthrough has become the modern front door to real estate. Did you know that 96% of homebuyers find walkthrough videos helpful during their property search?
Real estate professionals are using video to market themselves, their brands and their properties. Videos attract attention better and help customers make quicker buying decisions. So as a photographer, how can you create a video walkthrough that will change the game? We’ll break it all down for you — why walkthroughs matter, how to shoot them, and what it takes to deliver professional results.
1. Why Offer Video Walkthroughs?
Photos do a great job of showing what a home looks like, but they don’t always show how a home flows. You can look at a gallery and see the gorgeous kitchen, the living room, and the backyard, but you don’t get a sense of how those spaces move. Buyers want that sense of movement. That’s the gap where a video walkthrough fills.
Physically, it lets buyers virtually move through the home the way they would in person, walking from room to room and getting a true sense of scale and flow. Emotionally, they can picture their future everyday life, where family dinners might happen or how the light fills the rooms. Psychologically, it gives them confidence; because they’re seeing the property as a whole, not just in fragments.
And that experience matters. 83% of buyers say a video walkthrough helps them understand a property’s layout, which is the first hurdle in deciding if a home is even worth considering. Once they’ve got that clarity, they’re much more likely to lean in. In fact, 92% are more likely to contact an agent when a video is part of the listing.
Think about how buyers buy homes now. Most of them don’t want to waste weekends driving across town to a house that’s never going to be the right fit. Video gives them that natural filter; mismatched viewings drop, and the right buyers are the ones walking through the door.
Agents are seeing the payoff too. The top performers — 84% of them — are already using video as a core part of their marketing strategy. And it works: homes with video sell almost 90% faster than those without.
The takeaway is simple: buyers expect it, and top agents are delivering it. So, for you as a photographer, video walkthrough is your chance to offer something clients can’t afford to ignore and make it one of the most valuable services you have today.
Read more: Top Features to Look for in a Real Estate Video Maker: A Comprehensive Overview
2. How to Start Shooting a Video Walkthrough

Image source: Unsplash
Step 1: Prepare the Property
Before you hit record, there’s one step you can’t skip: making sure the property itself is camera-ready. A polished walkthrough starts with a polished home. Below is a quick checklist to set the stage:
Give the place a full clean: floors, counters, and every surface buyers will notice
Clear away personal items like family photos or kids’ artwork so the home feels neutral
Declutter visible spaces: countertops, shelves, and tabletops should look open and inviting
Tuck away pets (and their toys) to avoid distracting viewers
Keep cabinet and closet doors shut to avoid visual clutter
Smooth out beds, fluff pillows, and straighten throws for a crisp look
Don’t forget the small details: lower toilet seats, pull shower curtains closed, and adjust curtains or blinds for balanced light
Take a final walk-through to make sure artwork, plants, and decor are positioned just right
When the prep work is done, everything else, from framing shots to editing, feels smoother. A well-staged home makes your shooting easier and the final video walkthrough shines.
Step 2: Prepare Equipment
To keep your footage professional, here’s the baseline kit:
Camera: DSLR or mirrorless capable of shooting 1080p video
Lens: Wide angle, ideally 16–24mm on full frame with f/2.8–f/4
Stabilizer: A gimbal (DJI Ronin:M, S, SC; Zhiyun Crane 2, Weebill S, FeiyuTech) for smooth movement
Tripod slider: Optional but recommended for detail and insert shots, depending on the weight of your camera and lenses
Step 3: Setup the Camera
Consistency is key. Use these settings as your starting point:
Start shooting in the highest frame rate possible in 1080p (50p, 60p would be best for slow motion)
Shutter speed: at least 2× the frame rate (1/50 or 1/100 to prevent flickering)
White balance: 3000K–5600K depending on lighting
Keep shots at eye level where possible
Choose a flat image profile with low contrast (if possible)
Shooting with a flat profile or LOG will require more skills than a standard profile, so here are some tips:
Expose to the right (should be 1-2 stops over)
Keep your ISO as low as possible
Clip the highlight not the shadow
Pay attention to the sharpness of your image
Step 4. Plan Your Footage Checklist
Think of this like telling a story. Here’s your basic shot list:
Exterior
The facade of the house: try to shoot different angles if possible
Walk from the street to the door
Open the door
Backyard, walk around the garden, view of the house from the backyard
Interior
Flow shots: Enter the house > living room > kitchen
Balcony
Bathroom and bedroom
Detail shots: Medium shots or close up shots of highlighted features, beautiful angles in the house. You can film several takes depending on the size of the house (consider using a different focal length)
When you have two rooms that are quite different in terms of lighting conditions, avoid covering both in one take. Instead, opt to shoot them separately. You should always check and clean your lens before shooting. If you take the detail shot with your slider, make sure the rail is clean and smooth. Finally, try not to go too fast.
Read more: Real Estate Agent Branding: What Social Media Bundle you should provide for agents
Step 5. Plan Input Requirements
For standard video walkthrough editing, we suggest clients to submit the input with the following requirements:
On average, aiming for 25-30 input clips to achieve a 2-minute walkthrough video. Respectively, 12 – 15 input clips for a 1–2-minute video. Try to shoot them in the same order as they will appear in the final video
The duration of each clip should be 10 – 30s
Open the door
The total file size should not exceed 5GB
Video format: MOV/MP4
Step 6. Produce Voiceover (Optional)
We have some recommendations for videos that require the voiceover of an agent talking about the property: Use a good microphone when you record audio. A lavalier mic that is attached to your agent/realtor would be the best solution. An on-camera mic is only usable when it’s close to the object.
When submitting one audio track that includes the voiceover, providing a simple script would be preferred. If you don’t have enough time to prepare, we can help you find the best footage that matches what you have described in the audio track. Keep in mind that the process can take longer without a script.
3. The Final Touch to Your Video Walkthrough
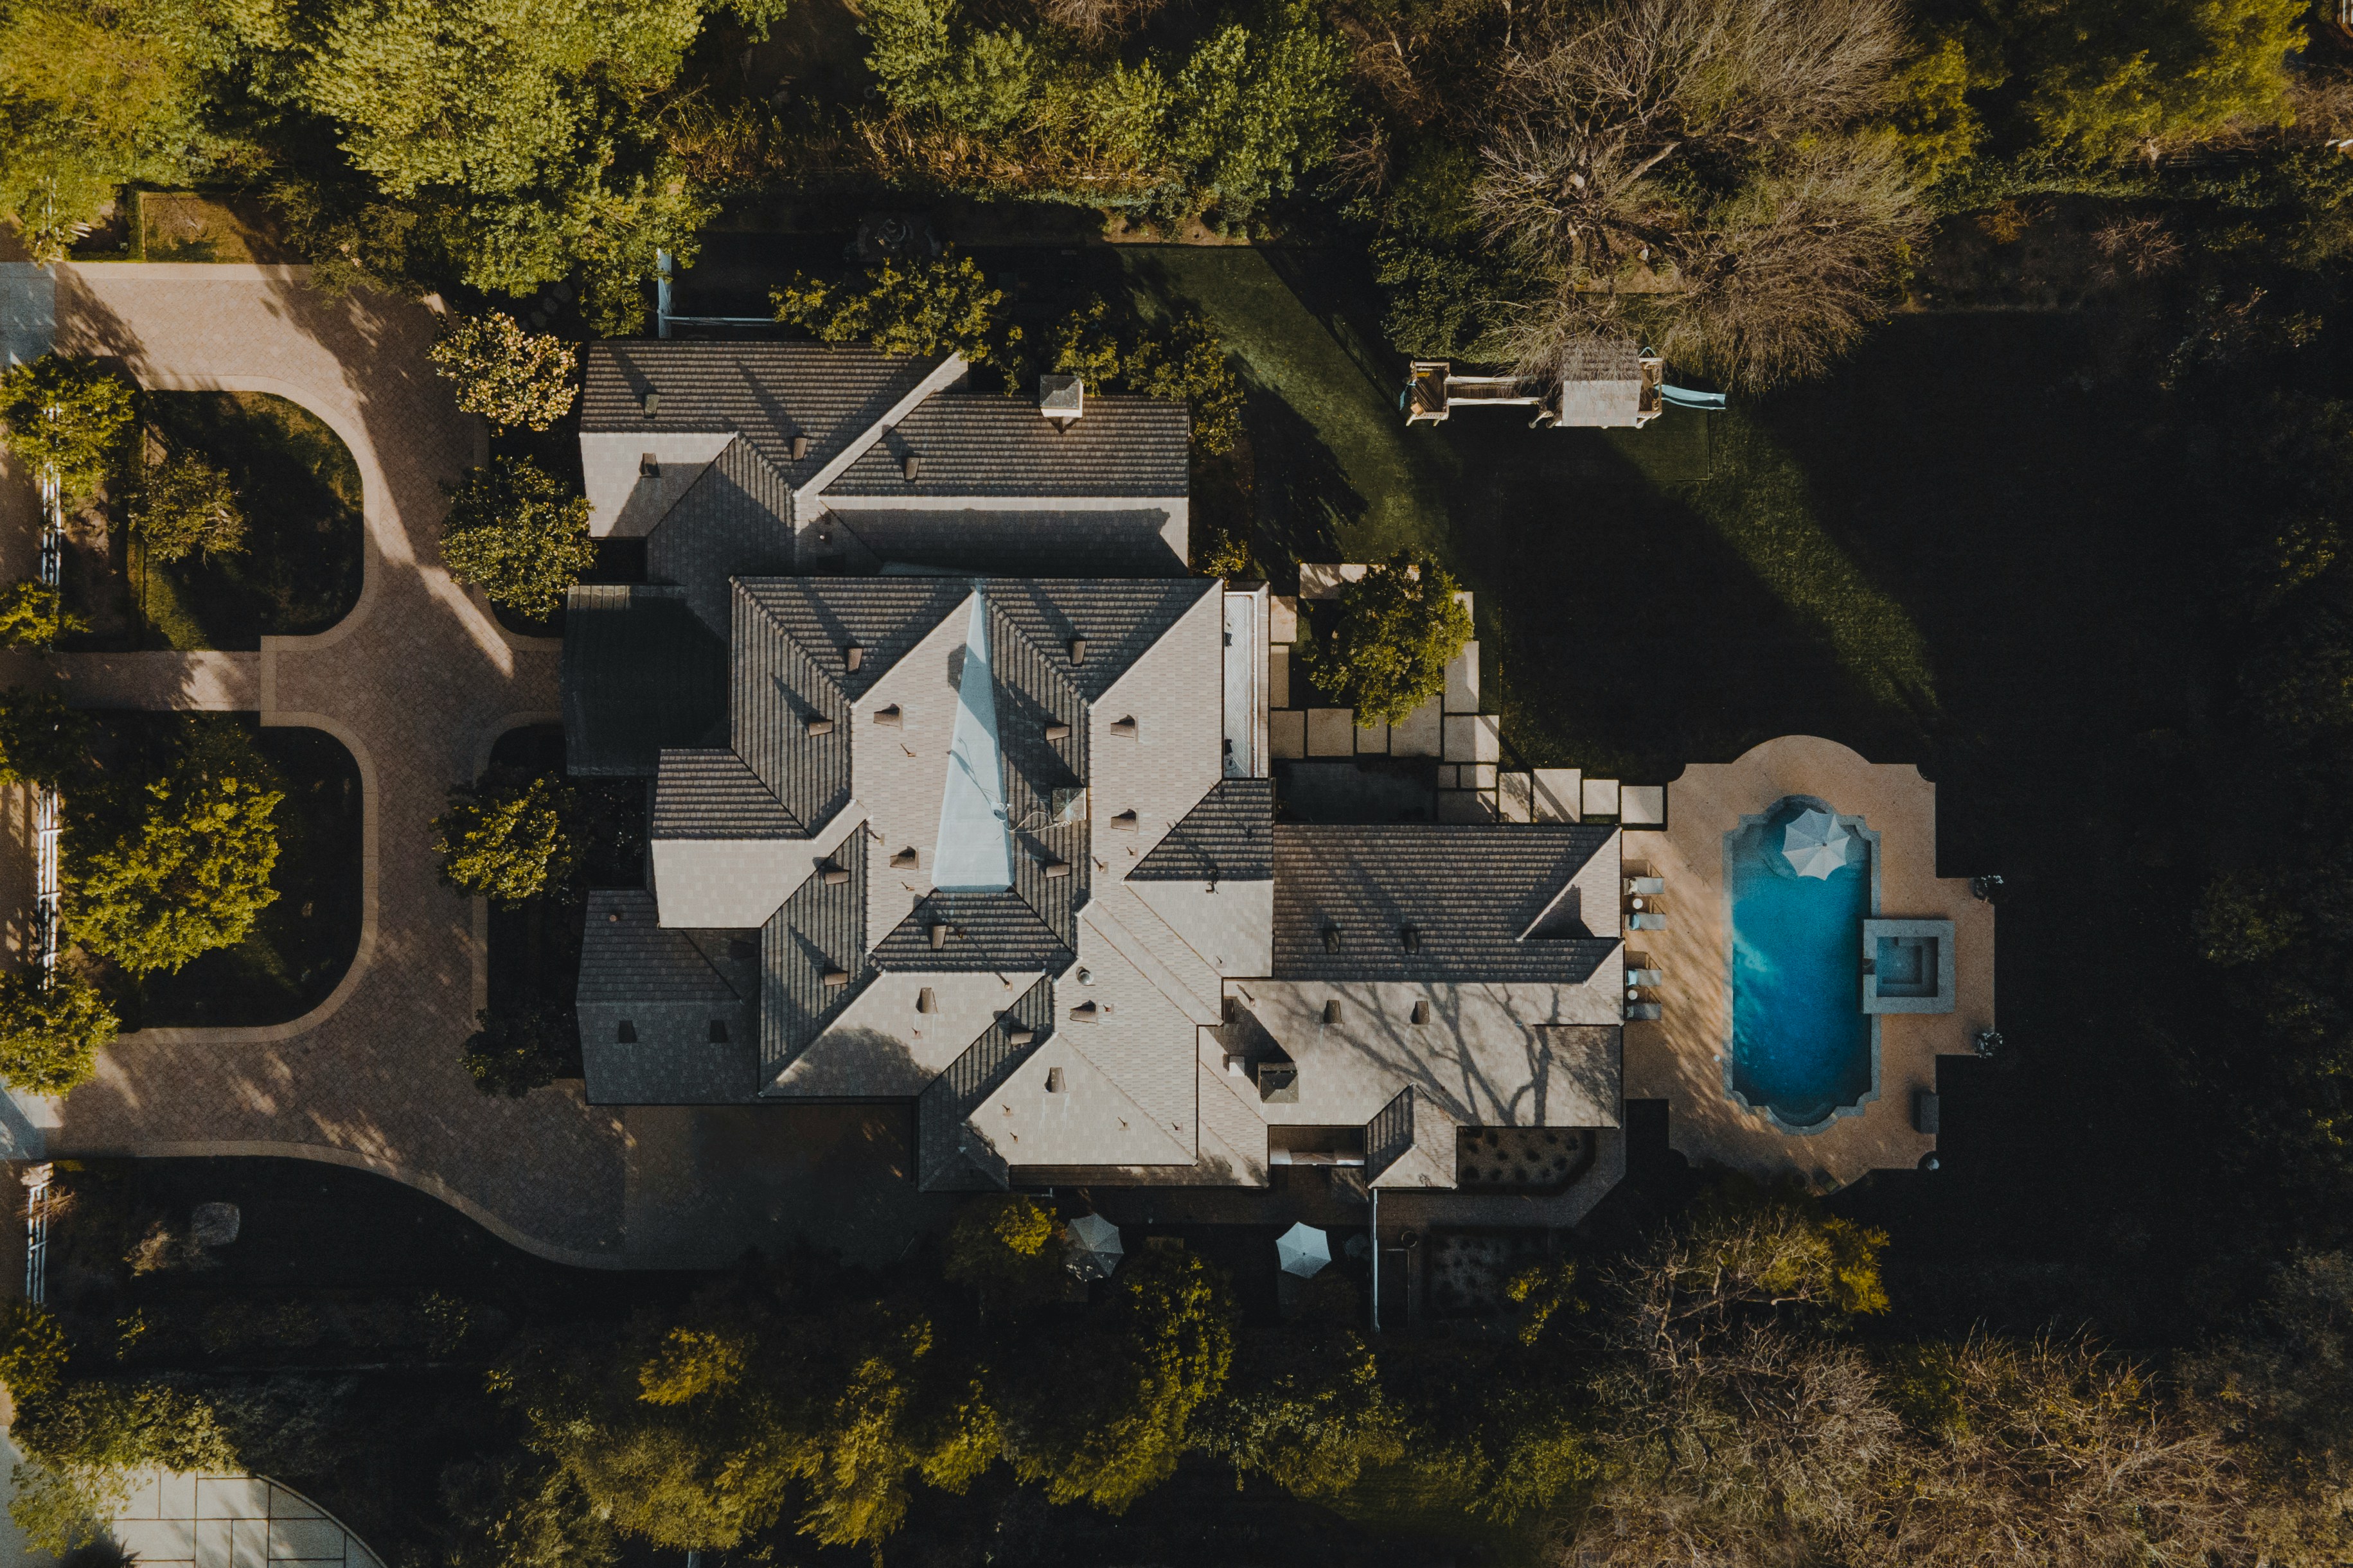
Image source: Unsplash
Now you have all the best shots of the property, it’s time for the last step to put them all into a single stunning video walkthrough: post-production. The editing choices you make determine how smoothly buyers feel they’re moving from one space to the next, how the lighting is balanced, and whether the overall video feels inviting or disjointed. Think of it as giving buyers the same fluid impression they’d get if they were walking through the home in person.
At Esoft, our video product experts and editors don’t just stitch clips together, we look at the property’s character and the style you’re aiming for. Whether the goal is a warm, family-friendly feel or a sleek, modern presentation, we’ll ensure your video walkthrough can highlight those qualities and resonate with the right audience.
| Check out our solution here: Property Video Editing
4. Wrapping Up
Video walkthrough is one of the most effective types of content to promote online. If you’re not using this video content to promote your business yet, you’re missing out on the best way to engage your audience. Start small, don’t overthink it, and just shoot your first walkthrough. The more you do, the smoother it gets.
Buyers want it, agents need it, and photographers like you can deliver it. And when you’re ready to take those clips and turn them into something clients love, we’ve got you covered at Esoft. Contact us!
Related Blogs
How Real Estate Video Editing Outsourcing Can Enhance Your Business Portfolio
Video Editing

Top 5 Real Estate Video Editing Services That Can Boost Listings
Video Editing

Real Estate Video Editing Tips - Top Dos & Don’ts
Photo Editing
Real estate video production - The complete guide for beginners
Video Editing




Linh Phan
Content Strategy Executive
No Spam, Just Updates
Our fresh blogs provide technical and industrial information that helps strengthen your business. Sign up to be the first to receive the new updates
