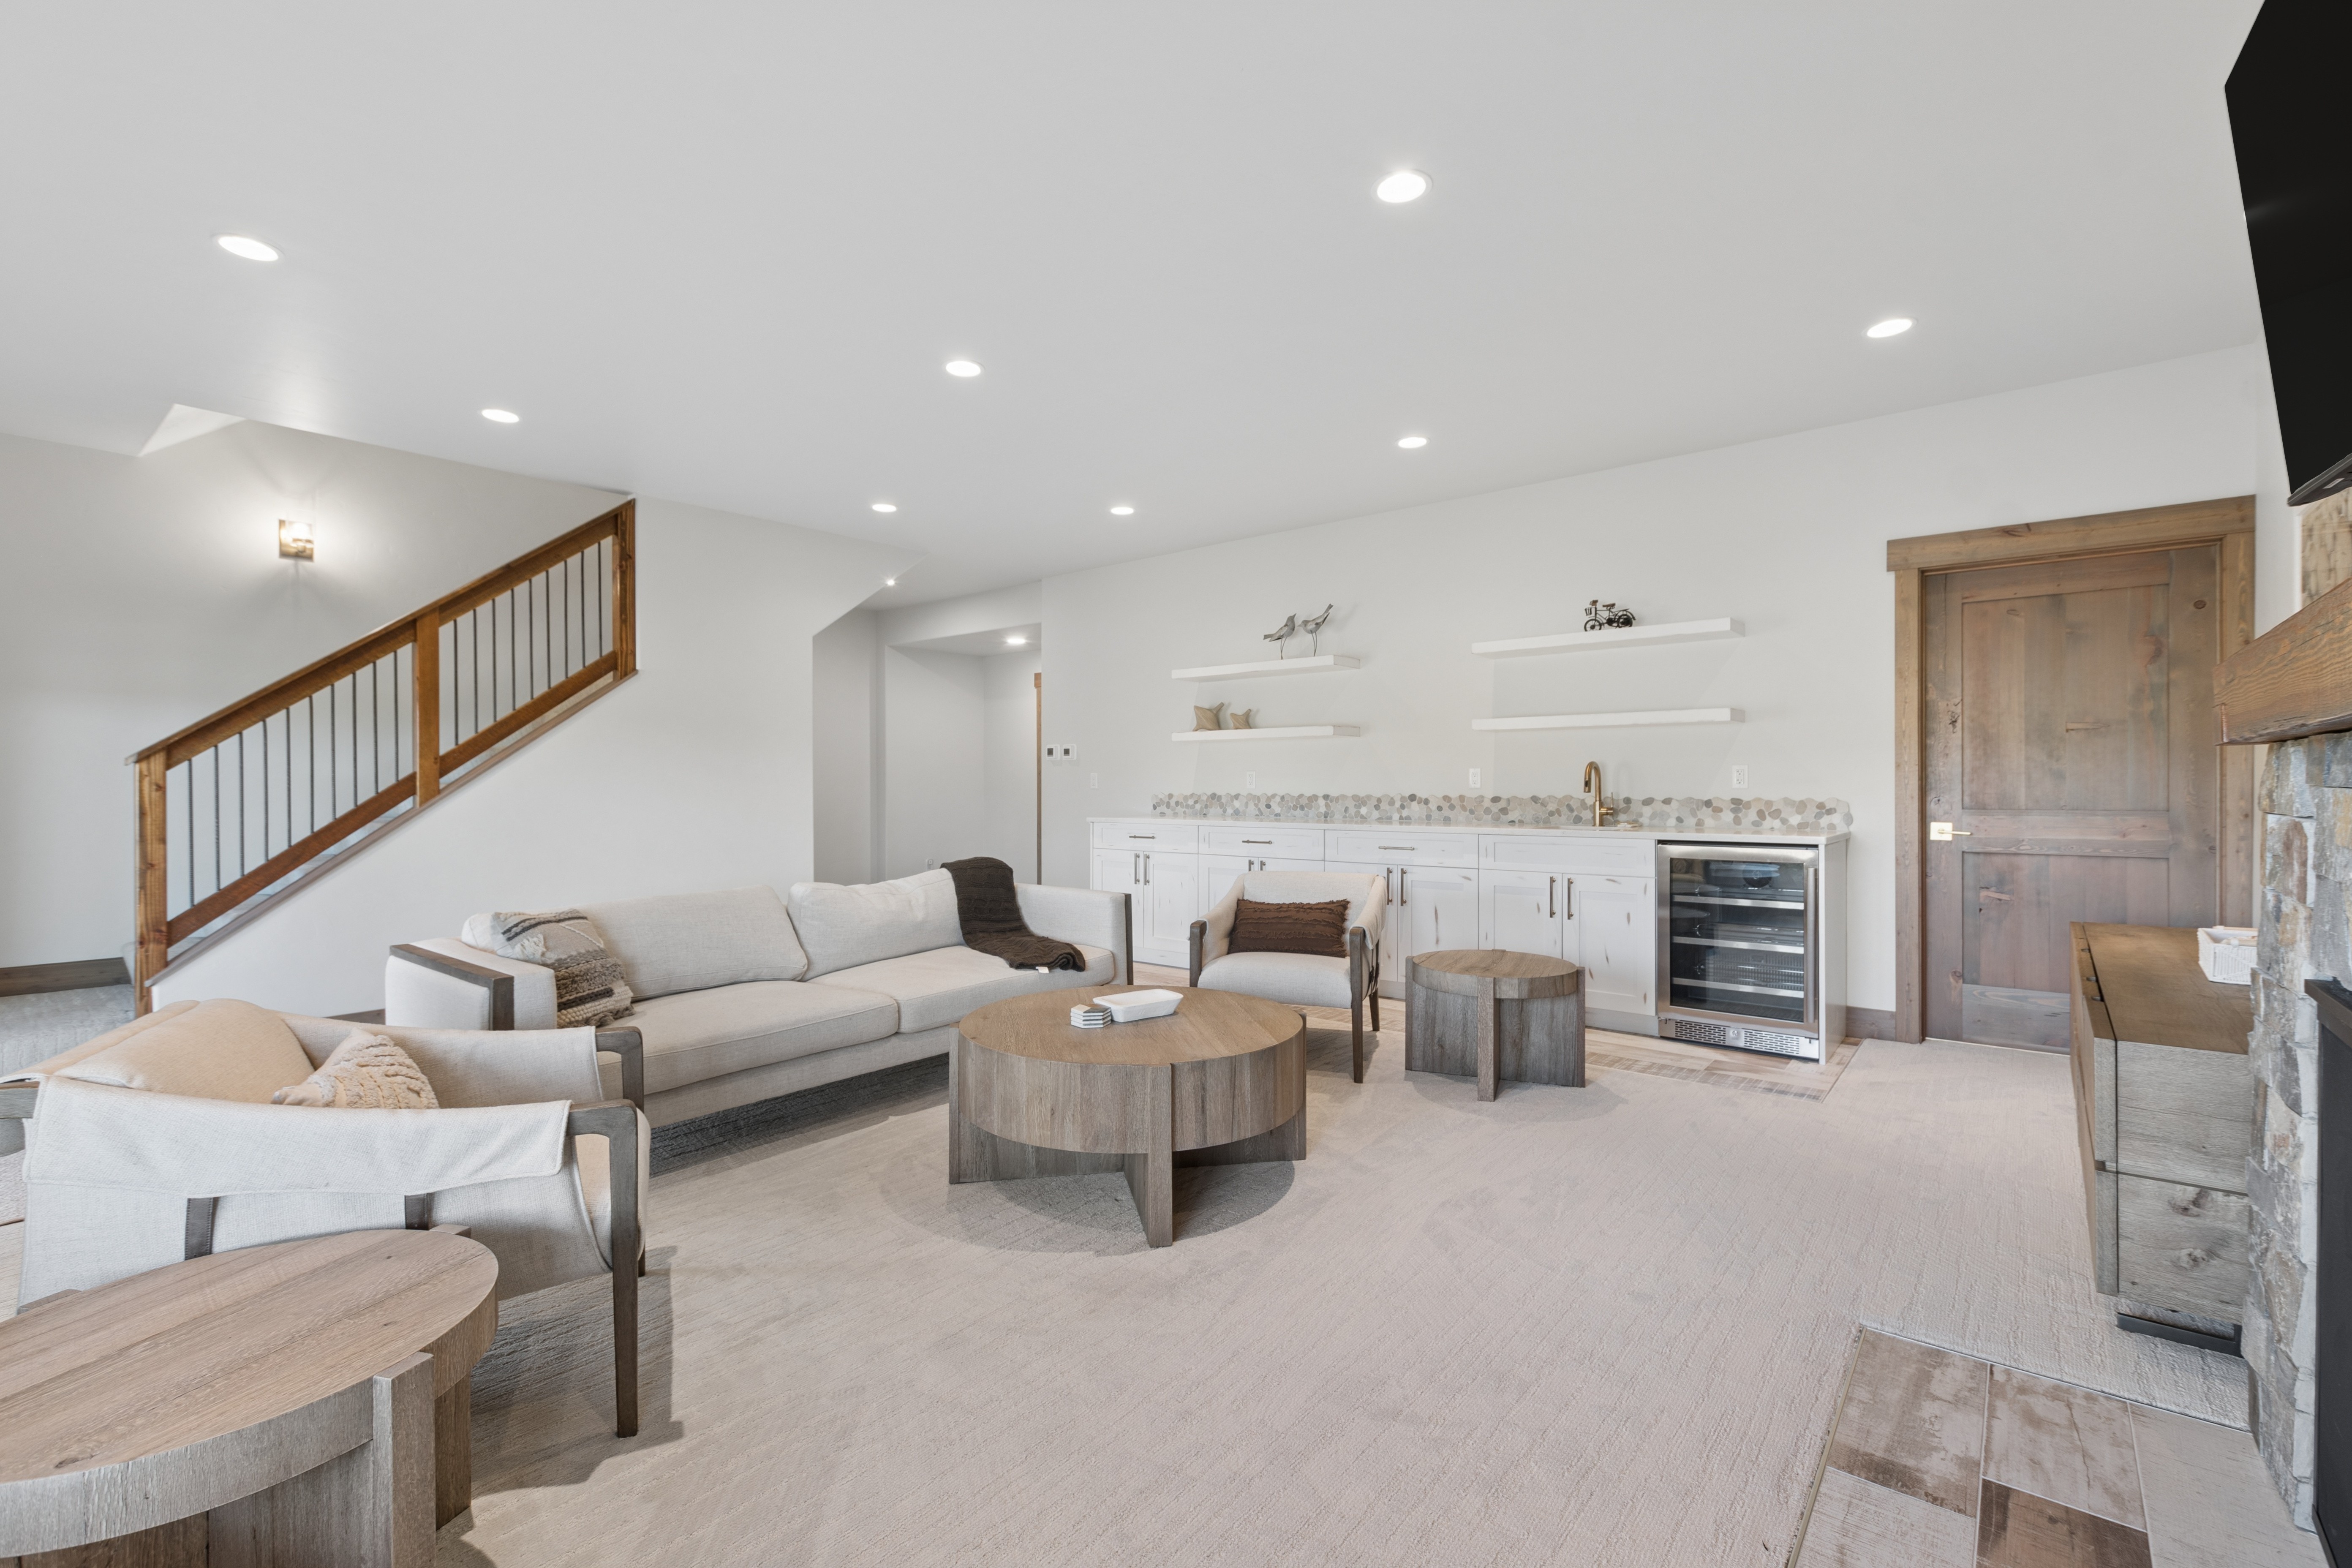
Most production issues in real estate listing visuals are set up earlier in the workflow than they appear. The real estate photography editing tips in this article cover eight practical decisions across both photo and video production that determine whether output is ready to publish or requires a correction round. From shoot setup and file preparation to how photo and video output are reviewed together, each section addresses a specific point in the production chain.
I. Combining AI Photo and Video Editing Raises the Standard for Real Estate Listings
Photo sets and video walkthroughs serve different functions in a listing. A photo set gives buyers controlled, detail-level access to each space at their own pace. A walkthrough gives them sequence and spatial context - how the property moves from one area to the next. Buyers use both, and the output standard needs to hold across both formats.
The production problem surfaces when photo and video are edited through separate workflows with no shared brief. The result is output that reads as two separate shoots:
Colour temperature handled differently across photo and video creates an inconsistent look across the listing
Tone and exposure treated separately in each format means the same space reads differently depending on which asset the buyer is viewing
Buyers register the inconsistency even when they cannot identify the specific cause
Running photo and video editing through a single managed workflow removes that gap. When correction direction is set once and applied across both formats, output reads as a coherent asset set. It also reduces production overhead - briefing, reviewing, and signing off two separate editing streams at different stages takes considerably longer than reviewing aligned output together.
II. Real Estate Photography Editing Tips for Stronger AI Photo Output
What happens at the shoot stage determines how much correction headroom exists at the processing stage. These four tips address the most common points where input quality affects AI photo output.
Tip 1: Shoot with the correct bracketing range to give the AI enough exposure data to work with
A bracketing range of at least three exposures, typically at ±2 EV, gives the model enough tonal information to recover highlights and shadows without generating artificial detail. A narrow bracket limits what correction is possible regardless of the model being used.
See more articles: Best Real Estate AI Photo Editor Tools in 2026
Tip 2: Stabilise every shot, even minor movement compounds across a full property set
A single handheld frame introduces ghosting during HDR merge that requires manual correction downstream. At volume, the overhead adds up quickly. The standard setup is a tripod with a level head. Key stabilisation points to check before shooting:
Tripod feet fully locked on uneven or soft flooring
Head level confirmed before each bracket sequence, not just at the start of the shoot
Remote shutter or self-timer active to eliminate camera shake at the point of capture
Tip 3: Organise and name files before submission to avoid processing errors at volume
Consistent naming - property address, room, and sequence number - keeps images matched to the correct location and reduces misassignment when output is returned across a large order. A simple pre-submission checklist covers the main failure points:
One folder per property, not mixed batches across multiple addresses
Room labels included in the file name, not just sequence numbers
RAW and JPG files separated if both formats are captured on the same shoot
Tip 4: Use Admin defaults to lock correction specs
Configuring correction settings individually on each job introduces variation and adds time. Setting Admin defaults - preferred sky option, window enhancement level, output resolution - locks the spec across every submission from that account, removes a decision step from each order, and ensures output stays consistent across operators without requiring a brief every time.
III. Video Editing Tips That Align With Your Photo Workflow
Getting photo and video output to read as a single asset set requires decisions made at the brief and shoot stage, not in post. These four tips address the points where video production most commonly falls out of alignment with the photo set.
Tip 5: Match colour grading direction across photo and video in the brief
Colour decisions made late - after photo correction and video grading have already been handled separately - require revision rounds that add time and cost. Setting a shared direction in the brief, covering white balance preference, tone, and exposure target, gives both workflows the same reference point from the start. Corrections applied after the fact rarely produce output that reads as consistent as a shared brief does from the beginning.
Tip 6: Plan walkthrough sequences around the same hero angles used in the photo set
The angles that perform best in the photo set - entry points, key living areas, the primary outdoor space - are the same angles that give the video its strongest frames. Planning the walkthrough sequence around those positions keeps the two formats visually coherent. It also reduces the chance of the video introducing angles that contradict what the photo set has already established as the property's strongest views.
See more articles: Best Real Estate Photo Editing Services
Tip 7: Keep transition style neutral
Transitions, motion overlays, and stylised cuts draw attention to the edit rather than the property. A neutral, clean transition style keeps the focus on spatial flow and the listing itself. It also means the output holds up across a longer listing period without looking dated, which matters particularly for properties with extended time on market.
Tip 8: Review photo and video output together before delivery
Reviewing photo and video in isolation means visual inconsistencies only surface once the full listing is assembled, at which point corrections require reopening completed work. A single combined review stage catches tone, colour, and framing mismatches before delivery and reduces the back-and-forth that separate sign-off stages typically generate.
IV. How Esoft Covers Both Sides of the Production
Autopix by Esoft processes AI photo editing with a model trained exclusively on real estate images over seven years. Correction output is consistent across every image in a full property set, not just individual frames. The core correction scope covers:
Exposure, HDR, and white balance correction across the full property set
Window enhancement at Light, Natural, and Strong levels
Sky replacement - 360° panoramic, Interior Blue Sky, and Blue Sky Exterior
TV screen blackout and automated privacy blur
That consistency is what makes photo assets ready to feed directly into video production without a quality gap between the two formats.
Parallax AI Video turns corrected photo assets into motion content without additional shooting.
Clean, well-corrected output from Autopix feeds directly into Parallax - Esoft's AI video solution - without a quality reconciliation step. Parallax applies AI-driven parallax motion and depth to static listing images, producing video-quality marketing content from the existing photo set. No additional shoot day, no separate videography brief. For operations running at volume, this means motion assets can be produced from the same ordered image set, extending what a single shoot delivers across listing portals, social channels, and campaigns.
Esoft's full video editing services apply the same managed standard to footage-based formats.
For operations that shoot video footage, Esoft's video editing services cover the full production range under the same service model - pacing, colour, transitions, and delivery to spec, with the same turnaround consistency applied to photo orders:
Property tour video - room-to-room walkthrough edits that present layout and key features clearly
Aerial tour video - edited drone footage with grading and sequencing that matches the ground-level assets
Combined tour video - ground and aerial footage integrated into a single edit covering both the property and its surroundings
Social media video - shorter, channel-ready cuts produced from the same footage without a separate shoot
Both photo and video run through the same account, the same platform, and the same support team - removing the coordination overhead that comes with managing separate vendors for each format.
Conclusion
The real estate photography editing tips in this article address the full production chain - from shoot setup and file preparation through to how photo and video output are reviewed together before delivery. Getting correction direction set early, keeping both formats aligned to the same brief, and running photo and video through a single managed workflow are the decisions that determine whether output is ready to publish or requires additional rounds. Esoft covers both sides through Autopix AI photo editing, Parallax AI video, and a full suite of video editing services. To find out how Esoft fits your production workflow, get in touch with the team.
Related Blogs

5 Best AI Photo Editing with Parallel Upload, Postpaid Pricing, Zero Disruption
AI Photo Editing

Which AI Photo Editing Solution for Real Estate Marketing Offers the Best Integration?
AI Photo Editing

Switching AI For Real Estate Image Editing: How to Make Migration Seamless?
AI Photo Editing

Auto Enhance Real Estate Photos: 6 Reasons Companies Are Switching to Autopix
AI Photo Editing

Autopix vs Other Real Estate Auto Photo Editor AI: Why Enterprise Teams Switch
AI Photo Editing

Comparing TV Screen Features of AI Real Estate Photo Editing
AI Photo Editing



Linh Phan
Content Strategy Executive
No Spam, Just Updates
Our fresh blogs provide technical and industrial information that helps strengthen your business. Sign up to be the first to receive the new updates